



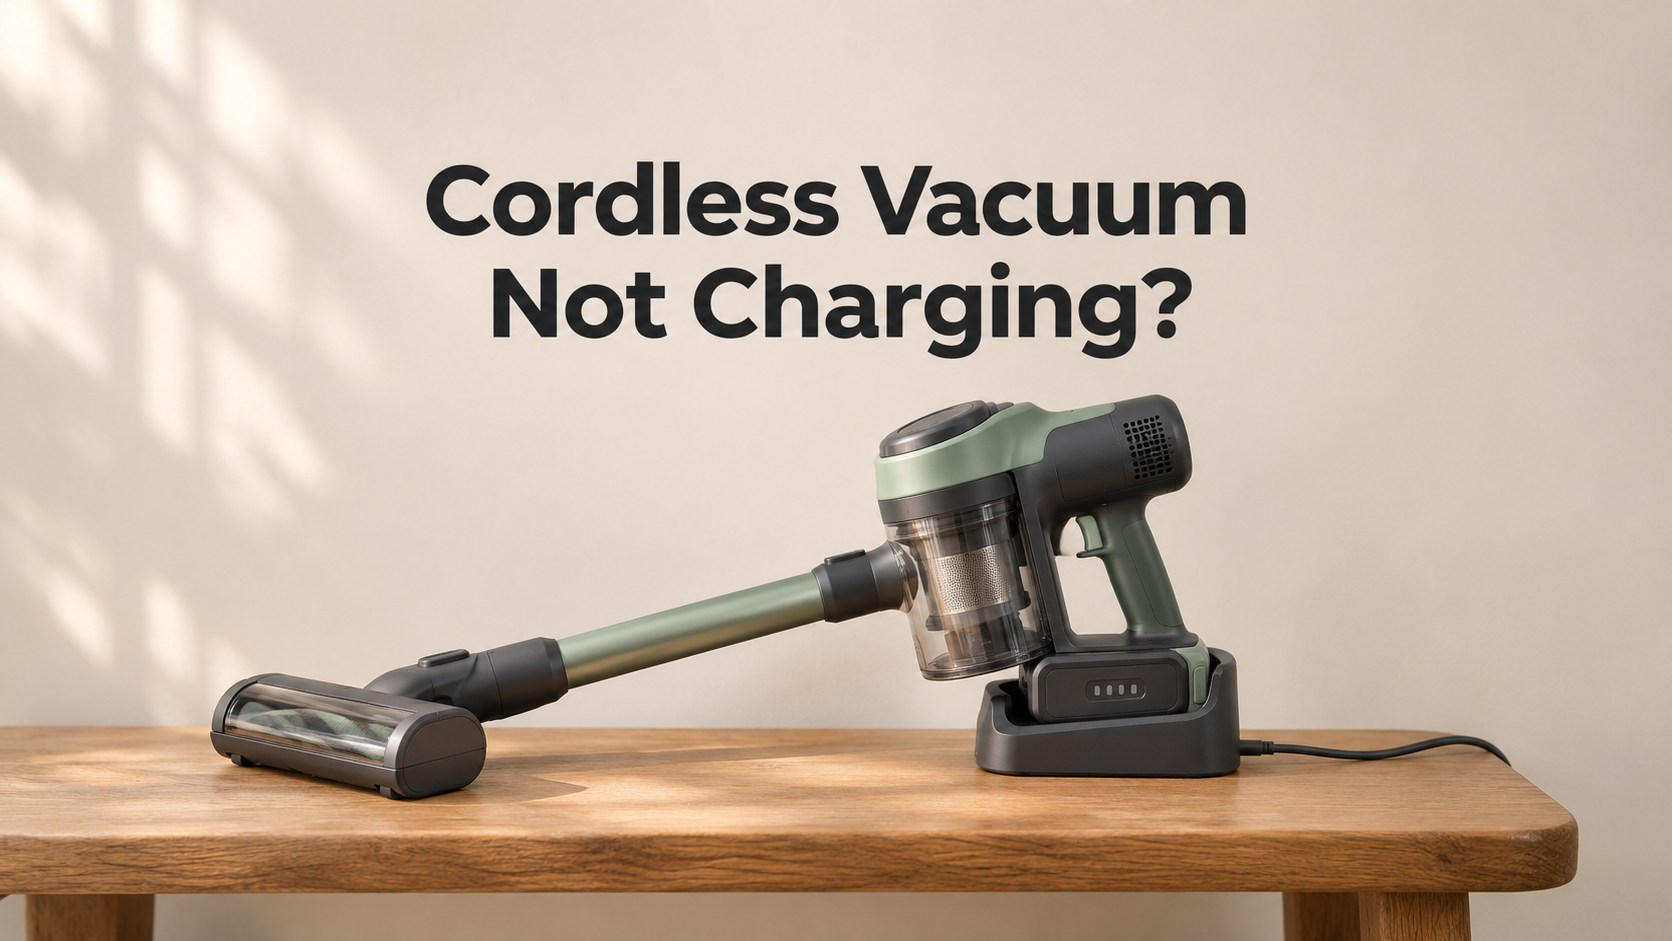
Cordless Vacuum Not Charging? 12 Causes and Easy Fixes
You pick up your cordless vacuum, press the power button, and it is completely dead. You place it on the charger, but the light does not come on, blinks strangely, or the battery never seems to fill up. A cordless vacuum that will not charge can feel like a serious failure, but in many cases the cause is simple: a loose connection, a dirty contact, a faulty adapter, or a battery that has temporarily shut itself down for protection.
This complete guide explains why a cordless vacuum cleaner will not charge, how to test each part of the charging system safely, how to fix the common problems at home, and how to tell when the battery or charger needs to be replaced. You will also find battery care tips that help your vacuum last much longer.
How a Cordless Vacuum Charges
Most cordless vacuums use a lithium-ion battery pack. When you plug in the charger, power travels from the wall outlet through the adapter and cable to the charging port or dock, passes through metal contacts, and enters the battery. A small circuit inside the battery, often called a battery management system (BMS), controls the charging and protects the battery from overheating, overcharging, or draining too low.
If any link in this chain fails, the vacuum will not charge. The good news is that you can check most of these links yourself.

Safety First Before You Troubleshoot
- Disconnect the charger from the wall and the vacuum before cleaning contacts or inspecting parts.
- Do not charge a battery that is swollen, leaking, very hot, or smells unusual. Stop using it and replace it.
- Use only the original charger or a replacement made for your exact model.
- Do not open a battery pack or try to repair its internal cells. Lithium-ion cells can be dangerous if damaged.
- Charge on a hard, dry, non-flammable surface away from curtains, beds, and clutter.
Match the Symptom to the Likely Cause
The way your vacuum behaves on the charger gives helpful clues. Use the chart below to narrow down the problem.

12 Reasons Your Cordless Vacuum Is Not Charging (and How to Fix Each One)
1. No Power at the Wall Outlet
The easiest cause to overlook is an outlet that is switched off or has lost power. A tripped breaker or a loose socket can stop the charger from working.
How to fix it:
- Plug a lamp or phone charger into the same outlet to confirm it is working.
- Check the circuit breaker panel and reset any tripped breaker.
- Try a different wall outlet instead of a power strip or extension cord.
2. Charger or Adapter Failure
Chargers wear out, especially if the cable is bent often or the adapter has overheated. A dead adapter will not send power to the vacuum even if everything else is fine.
How to fix it:
- Look for an indicator light on the adapter or dock. If there is no light, the charger may be dead.
- Check the adapter and cable for cracks, bent pins, burn marks, or a strong hot smell.
- If possible, test with a compatible charger that is known to work. Use only a charger specified for your model.
3. Wrong Charger Used
Chargers may look similar but have different voltage or current ratings. A mismatched charger can fail to charge the battery or can damage it.
How to fix it: Check the voltage and amperage listed on the vacuum or battery label and make sure the charger matches. Replace it with the manufacturer’s recommended model.
4. Damaged Charging Cable or Loose Charging Port
A cable with an internal break or a worn charging port may only work when held at a certain angle. Repeated plugging and unplugging can loosen the port inside the vacuum.
How to fix it:
- Wiggle the plug gently in the port and see whether the charge light flickers on and off.
- Check the port for bent pins, lint, or debris, and carefully clear it with a dry soft brush.
- If the port is loose or broken, it needs professional repair.
5. Dirty or Corroded Charging Contacts
Dust, grime, and light corrosion on the metal contacts can block the flow of electricity. This is one of the most common reasons for “not charging” on both the vacuum and the docking station.
How to fix it:
- Unplug the charger and remove the battery if it is removable.
- Wipe the metal contacts on the battery, vacuum, and charger with a dry, lint-free cloth.
- For stubborn residue, use a cotton swab lightly dampened with isopropyl alcohol, and let it dry fully before reconnecting.
- Never use water or sharp tools on electrical contacts.
6. Vacuum Not Seated Properly on the Dock or Wall Mount
If the vacuum is slightly misaligned on its dock, the contacts may not touch. Many vacuums charge only when they sit in exactly the right position.
How to fix it: Remove the vacuum and place it again so that it clicks or rests firmly on the dock. Check that the charging contacts line up and that nothing is blocking them.
7. Battery Not Fully Inserted (Removable Batteries)
On models with a removable battery, a battery that is not fully clicked into place will not charge or power the vacuum.
How to fix it: Remove the battery, check for debris in the compartment, and push it back until it locks firmly in place. Try charging it again.
8. Battery Too Hot or Too Cold
Lithium-ion batteries have temperature protection. If the battery is too hot after heavy use, or too cold after being stored in a garage or a cold room, the BMS may refuse to charge it until the temperature returns to a safe range.
How to fix it:
- Leave the vacuum at normal room temperature for 30 to 60 minutes before charging.
- Do not charge in direct sunlight, near a heater, or in freezing conditions.
- If the battery stays very hot even when not in use, stop using it and replace it.
9. Deeply Discharged Battery in Protection Mode
If a battery is left completely empty for weeks or months, its voltage can fall so low that the protection circuit locks it. The charger may then show no light, or an error light, and the battery seems dead.
How to fix it:
- Leave the vacuum connected to the original charger for several hours and see whether the indicator wakes up.
- Try a different outlet and make sure the charger connection is firm.
- If the battery still does not respond, it may be permanently damaged and should be replaced. Do not try to force-charge it with improvised methods.
10. Worn Out or Aged Battery
All lithium-ion batteries lose capacity over time. After about 300 to 500 full charge cycles, or roughly 2 to 4 years of regular use, many batteries cannot hold a charge well. Signs include very short run time, a battery that charges instantly but dies quickly, or one that never reaches a full charge.
How to fix it: Replace the battery with a genuine or compatible one made for your model. This is often cheaper than buying a new vacuum.
11. Faulty Docking Station or Charging Base
If your vacuum charges with a stand or wall dock, the dock itself can fail. Worn contact pins, a loose power connection, or internal damage can stop it from delivering power.
How to fix it: Check that the dock’s power cable is firmly connected. Look for bent or dirty contact pins and clean them. If your vacuum also has a direct charging port, try that method to see whether the dock is the problem.
12. Battery Management Board or Vacuum Circuit Fault
If the charger, contacts, and battery appear fine but the vacuum still will not charge, there may be a fault in the battery management board or the vacuum’s internal circuit. This can be caused by a power surge, liquid damage, or age.
How to fix it: This requires professional repair. If the vacuum is old and the repair would cost a large part of a new machine, replacement is usually the better option.
Understanding Charge Lights and Typical Charging Times
Different brands use different light patterns, so always check your manual. As a general guide:
- Solid or pulsing light: The vacuum is charging normally.
- Solid green or all bars lit: The battery is fully charged.
- Blinking red or orange: An error, such as temperature, a connection fault, or a battery issue.
- No light at all: No power to the charger, a dead adapter, or poor contact.
Most cordless vacuums take about 3 to 6 hours to charge fully, though some models take less and some take longer. If your vacuum charges in just a few minutes or never seems to fill up, the battery may be worn out.
Step-by-Step: How to Find Out Why Your Cordless Vacuum Will Not Charge
Follow this order, from the easiest checks to the more serious ones.

- Test the outlet with another device and try a different outlet.
- Check the charger and cable for lights, damage, or heat, and make sure it is the correct charger.
- Clean the charging port and contacts on the vacuum, battery, and dock.
- Reseat the vacuum or battery so it connects firmly.
- Let the battery reach room temperature, then try charging again for several hours.
- Inspect the battery for swelling, leaks, or age. If it still fails, get it checked or replaced.
Battery Care Tips to Make Your Cordless Vacuum Last Longer
Good habits can add years to the life of your battery and prevent many charging problems.

- Avoid draining it to zero all the time. Recharge when the battery is low instead of waiting for it to die completely.
- Do not leave it on the charger for days if your manual advises against it. Some models stop charging automatically, others do not.
- Charge at normal room temperature, and keep the vacuum out of hot cars, garages, and direct sun.
- Use only the original charger or a model-approved replacement.
- Store the vacuum partly charged if you will not use it for a long time, and check it every few months.
- Clean the filters and brush roll regularly. A blocked vacuum works harder, drains the battery faster, and heats it more.
- Use the lower power mode for everyday cleaning, and the boost mode only when necessary.
Regular Maintenance Schedule

Repair or Replace? How to Decide
Repair or replace the part if:
- The problem is the charger, cable, or dock, which are usually inexpensive.
- The battery is the only worn component and a replacement is available for your model.
- The vacuum is still under warranty.
Replace the whole vacuum if:
- The motor or circuit board has failed and repair is expensive.
- A replacement battery costs close to the price of a new vacuum.
- The vacuum is 5 to 8 years old and keeps developing problems.
- The battery is swollen, leaking, or has overheated, and the machine shows signs of damage.
What to Look for in a Cordless Vacuum With Fewer Charging Problems
If you are shopping for a new cordless vacuum, these features can help you avoid battery and charging trouble:
- Removable, replaceable battery: Lets you replace the battery when it ages instead of the entire machine.
- Spare battery option: Allows swapping a fresh battery for longer cleaning sessions.
- Clear charge indicator: Shows charge level and error codes so you can diagnose problems.
- Smart battery protection: Built-in temperature, overcharge, and over-discharge protection.
- Sturdy dock with reliable contacts: Reduces misalignment and wear on charging connections.
- Good warranty on the battery: Shows the maker’s confidence in battery quality.
- Efficient motor and power modes: Save battery and reduce heat during everyday cleaning.
- Available spare parts: Chargers, batteries, and filters should be easy to find for your model.
Frequently Asked Questions
Why is my cordless vacuum not charging even though it is plugged in?
The outlet, charger, charging cable, contacts, or battery could be at fault. Start with the outlet and the charger, then clean the contacts and check the battery temperature.
Why does my cordless vacuum have no charge light?
No light usually means no power is reaching the vacuum or dock. Check the outlet, adapter, cable, and connection. A deeply discharged battery in protection mode can also show no light for a while.
Why is the charging light blinking?
Blinking often signals an error such as temperature protection, poor contact, or a battery fault. Check your manual for the exact meaning on your model.
How long does a cordless vacuum battery last?
Most batteries last about 2 to 4 years with regular use, or roughly 300 to 500 charge cycles, depending on the quality and how it is treated.
Can I use a different charger for my cordless vacuum?
Only if it matches the voltage, current, and plug type specified for your model. An incorrect charger can fail to charge or damage the battery.
Is it safe to leave my vacuum charging overnight?
Many modern vacuums have overcharge protection and are designed for this, but always follow the manual. Avoid charging on flammable surfaces, and unplug it if the battery gets unusually hot.
Why does my vacuum charge but run for only a few minutes?
This is usually a sign of an aging battery, a blocked airflow path forcing the motor to work harder, or using the highest power mode all the time. Clean the filters and brush roll, then consider replacing the battery.
Final Thoughts
When a cordless vacuum will not charge, the problem is often far simpler than it looks. Start with the basics: test the outlet, check the charger and cable, clean the contacts, seat the vacuum or battery firmly, and let it return to room temperature. These steps fix many “dead battery” cases in minutes.
If the vacuum still refuses to charge, the battery may simply have reached the end of its life, and replacing it can bring the machine back to full strength. Stop using the vacuum immediately if you see swelling, leaking, or excessive heat. With good charging habits and regular maintenance, your cordless vacuum will stay ready whenever you need it.