




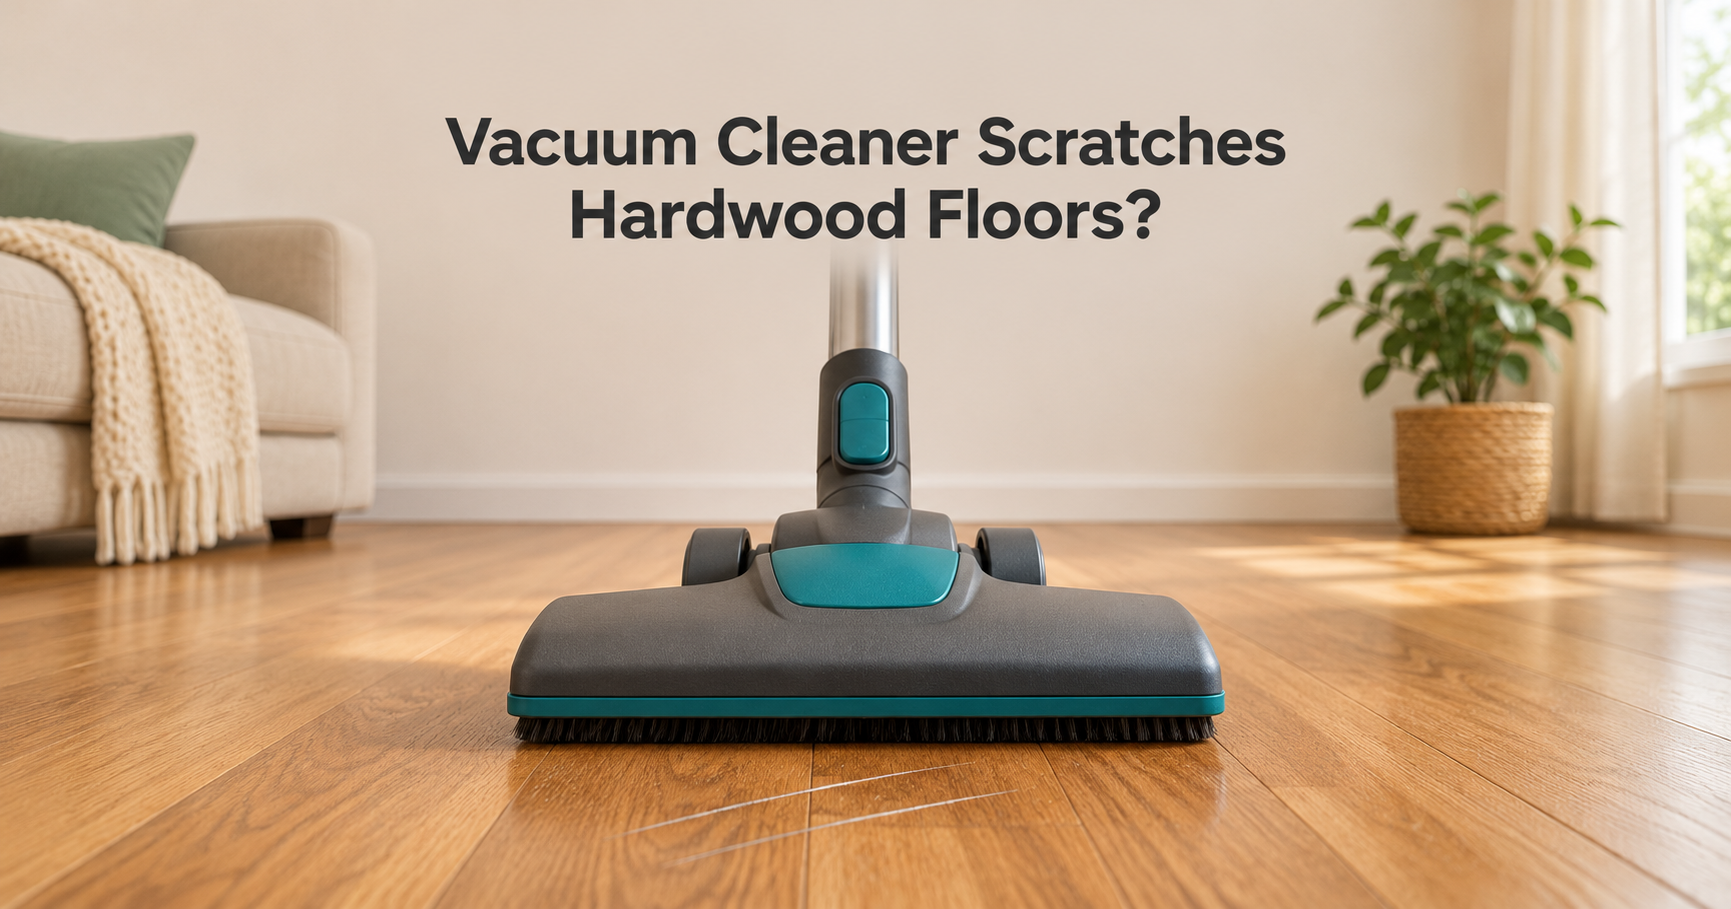
Hardwood floors are one of the best investments in a home. They look warm, last for decades and add real value. So it hurts when you finish vacuuming and notice fine lines, swirl marks or a long scratch where the machine has just been.
If your vacuum cleaner scratches hardwood floors, you are not alone, and you are probably not doing anything dramatically wrong. In most cases the vacuum itself is not “too strong.” The real culprits are small, fixable things: grit stuck to the wheels, a stiff spinning brush roll, worn parts and the wrong cleaning mode.
This guide explains exactly how vacuums damage wood, how to tell whether your vacuum is really the cause, nine proven ways to stop it, how to repair the scratches already there, and what to look for if you decide to buy a hardwood-friendly vacuum.
Quick answer: Vacuums scratch hardwood floors mainly because of (1) a hard-bristled brush roll that is left spinning, (2) hard plastic wheels that grind in trapped grit, (3) dirt and small stones caught under the head, and (4) worn or damaged parts. The fastest fixes are to turn the brush roll off or use a soft roller head, clean the wheels and underside regularly, and remove loose grit before you vacuum.
In this guide:
- Can a vacuum really scratch hardwood?
- The six places scratches come from
- How to tell if it is the vacuum or something else
- 9 ways to stop a vacuum scratching your floors
- Does the type of wood matter?
- Advice for upright, canister, stick and robot vacuums
- How to repair scratches, from light to deep
- A buying checklist for a hardwood-safe vacuum
- Frequently asked questions
Can a Vacuum Cleaner Really Scratch Hardwood Floors?
Yes, it can. Hardwood floors are normally protected by a clear finish (most commonly polyurethane), and it is this finish that gets scratched first. A brand-new vacuum with clean, soft parts is unlikely to harm a well-finished floor. But vacuums are used near the same dirt that damages floors, and they move across the surface every week. Small problems repeat themselves hundreds of times.
Think of it like sandpaper. A single grain of sand on the floor does nothing. A grain of sand trapped in a hard wheel, dragged over the same area again and again, leaves a thin line. A stiff brush roll spinning at high speed can also dull the shine and leave fine swirl marks, especially on soft or older finishes.
The Six Places Vacuum Scratches Come From
When people say a vacuum scratches hardwood, the damage almost always starts with one of the parts shown below. Check each one on your own machine.
1. Hard Plastic Wheels
Many floor heads and canister bodies use hard plastic wheels. If a tiny stone or sand grain becomes embedded in the wheel surface, it scratches the floor with every rotation. Soft rubber, silicone or felt-like wheels are far gentler.
2. Stiff Brush Roll Bristles
A brush roll is designed for carpet, where stiff bristles dig into fibers. On a hard floor, the same bristles can flick grit across the finish and leave fine marks. A spinning roll also scatters debris so that it ends up beneath the wheels.
3. Grit and Debris Trapped Under the Head
Sand, small stones, salt and crumbs often get stuck behind the brush roll or inside the nozzle opening. Once there, they are pressed against the floor under the weight of the machine.
4. Hard or Cracked Edges
Plastic nozzle edges and trim pieces can chip over time, leaving sharp points that mark the floor, especially when you push the head sideways or around furniture legs.
5. Worn or Damaged Brush Roll
Worn bristles, bent bristle tufts and exposed metal end caps on the brush roll can all contact the floor. If the roll looks uneven, it can catch or drag across the surface.
6. Rough Handling
Dragging the vacuum backward, letting the head drop onto the floor, or banging it against skirting boards leaves dents and scrapes that no part of the machine design can prevent.
Quick Diagnosis: Cause, Look and Fix
| Cause | What the damage looks like | Best fix |
|---|---|---|
| Brush roll left on | Dull patches, swirl marks, fine hairline scratches | Switch to hard-floor mode or turn the brush roll off |
| Grit in the wheels | Thin, straight scratch lines that follow the wheel path | Clean the wheels and check for embedded stones |
| Debris under the head | Short, random scratches in one area | Turn the vacuum over and clear the nozzle |
| Worn parts | Repeated marks in the same place on every pass | Replace the brush roll or wheels |
| Dragging or bumping | Gouges and scuffs near walls and furniture | Lift instead of dragging, and add edge protection |
| Floor not clean before vacuuming | Scattered scratches across the room | Dust mop or sweep first, then vacuum |
Is It Really the Vacuum? How to Tell
Before you blame the vacuum, check whether something else is responsible. Hardwood floors are scratched every day by shoes carrying grit, pet nails, dragged chairs, toys and even the pads of furniture legs. Here is how to narrow it down:
- Check the pattern. Scratches caused by a vacuum often follow straight lines or the width of the head. Scratches from pets or chairs are usually shorter and random.
- Check the timing. If the marks appear right after vacuuming, the machine is a likely suspect.
- Do a clean-floor test. Sweep or mop, wipe the area, then vacuum once with the brush roll off. If no new marks appear, the brush roll was probably the problem.
- Look at the wheels. Run your finger over each wheel. Anything gritty or sharp should not be there.
- Tell scratches from scuffs. Many “scratches” are actually surface scuffs from rubber or dirt. Rub the mark gently with a soft, slightly damp cloth. If it disappears, it was never a scratch.
9 Ways to Stop Your Vacuum Scratching Hardwood Floors
Always unplug the vacuum or remove the battery before you turn it over or touch the brush roll.
1. Turn Off the Brush Roll or Use Hard-Floor Mode
This is the single most effective change. Many vacuums have a switch, a button or a special hard-floor setting that stops or slows the brush roll. Hard floors rarely need agitation, so suction alone is usually enough. If your vacuum has no such option, consider a different head or a different vacuum (see the buying checklist later).
2. Switch to a Soft Roller Head
Some vacuums offer a soft roller (a fabric or microfiber roller) made for hard floors. It picks up fine dust and larger debris without scrubbing the finish, and it is far kinder to wood than stiff bristles. Check whether your model has a hard-floor head available as an accessory.
3. Clean the Wheels Regularly
Wipe each wheel with a slightly damp cloth every few weeks. Roll your finger over the surface to feel for stones or hard debris. Pick out anything that is stuck with tweezers. If a wheel is scored, cracked or flat-spotted, replace it.
4. Inspect and Clean the Underside
Turn the vacuum over once a month. Look for stones, grit, nails and hair wrapped around the brush roll or axle. Clear the nozzle opening and remove any sharp or hard objects. This takes two minutes and prevents a lot of damage.
5. Remove Loose Grit First
If the floor has visible grit, sand or small stones, pick it up with a soft broom or a dry microfiber mop before you vacuum. Sweeping removes the abrasive material that would otherwise be pushed around by the vacuum.
6. Replace Worn Parts
Worn brush rolls, flat-spotted wheels and cracked nozzle plates should be replaced as soon as you notice them. They are generally inexpensive and fit easily. Always buy the exact part for your model.
7. Use the Right Attachment
For canister vacuums and stick models, choose a floor tool made for hard surfaces, with soft bristle strips or a felt-lined edge. Avoid using rigid-bristle carpet heads or bare plastic tools on hardwood. Use a soft dusting brush for edges and skirting boards.
8. Lift, Do Not Drag
When you reach furniture or the end of a pass, lift the head slightly and place it down again. Avoid dragging the vacuum backward with the head on the floor, and never let the head drop from a height. Keep the hose and cord clear of the floor surface, too, because a hard cord clip can mark the finish if it is dragged.
9. Vacuum Slowly and With the Grain
Glide the vacuum smoothly in the direction of the boards rather than across them. A slow, steady motion gives suction time to pick up debris, and following the grain makes any tiny mark far less visible.
Does the Type of Hardwood Matter?
It does, but less than most people think. Different wood species vary in hardness, which affects how easily they dent. Harder woods resist dents better, while softer woods mark more easily. However, almost all scratches on a hardwood floor are in the finish, not in the wood itself, so the type and condition of the finish matter just as much as the species.
Floor finishes also differ. Polyurethane-finished floors have a tough, clear surface layer. Waxed and oil-finished floors are softer and more easily marked, and they often need gentler care. Always check which finish you have and follow the floor installer’s guidance. Older floors with a worn finish are far more likely to show scratches than newly finished ones.
Advice by Vacuum Type
Upright Vacuums
Uprights often come with a strong brush roll designed mainly for carpet. Use a model with a brush-roll shut-off or a hard-floor setting, and clean the wheels often because uprights are heavy and press grit firmly into the floor.
Canister Vacuums
Canisters can be excellent for hardwood because you can use a soft-bristle floor tool. Check that the wheels on the canister body are rubber or soft-tread, since the body is dragged behind you across the floor. Some people place a small felt pad under the canister body for extra protection.
Cordless Stick Vacuums
Sticks are light and easy to use, which reduces rough handling. Choose a head with a soft roller or a switchable brush roll and always change to the right head for hard floors. Clean the head often because fine dust and hair build up fast on small machines.
Robot Vacuums
Robot vacuums travel across the floor many times a week, so their wheels and brushes matter greatly. Clean the wheels and side brushes regularly, look for rubber or silicone wheels, and use a hard-floor brush rather than a stiff carpet brush. Do not let the robot run if the underside is clogged with pebbles.
How to Repair Scratches Left by a Vacuum
The right repair depends on how deep the scratch is. Start with the gentlest option and only move up if it does not work. Always test a product in a hidden area first and make sure it suits your floor’s finish.
Level 1: Surface Haze and Swirl Marks
Many marks that look like scratches are just dirt and dull finish. Sweep the floor, then wipe it with a clean microfiber cloth and a cleaner made for hardwood. Avoid soaking the wood, and never use steam mops or harsh abrasive cleaners on a hardwood floor.
Level 2: Light Scratches in the Finish
For fine scratches that you cannot feel with your fingernail, a hardwood floor polish or a touch-up marker in the right shade can hide the mark. Wax filler sticks are another quick option. Apply them following the product instructions and buff gently with a soft cloth.
Level 3: Scratches That Reach the Wood
If a scratch is deep enough to catch a fingernail and the wood looks lighter, use a wood filler or a color-matched putty, let it dry, sand lightly with fine grit if the instructions say so, and seal the spot with a matching finish. Match the sheen carefully so the repair does not stand out.
Level 4: Widespread or Deep Damage
When many boards are scratched, the best solution is usually a screen and recoat, where a flooring professional lightly abrades the old finish and applies a fresh coat. If the damage goes deeper, the floor may need to be sanded and refinished. This is a bigger job, but it restores the floor to a like-new state.
Note: Do not use random home remedies such as oils, nuts or mayonnaise on a finished floor. They may hide a mark for a short time but can leave a greasy film and make later refinishing harder.
How to Protect Your Hardwood Floors Long Term
- Use entry mats. Place a mat at every outside door so grit is trapped before it gets onto the wood.
- Take shoes off indoors. Shoes carry the stones and sand that scratch floors more than any vacuum.
- Add felt pads to furniture. Replace them when they wear out or become packed with dirt.
- Trim pet nails. Long nails scratch floors quickly and are often mistaken for vacuum damage.
- Sweep or dust mop between vacuuming. Regular light cleaning keeps grit from building up.
- Keep the finish in good condition. Recoat the floor when the finish starts to look worn instead of waiting until the wood itself is exposed.
- Wipe spills quickly. Moisture damages both the finish and the wood.
What to Look for in a Hardwood-Safe Vacuum
If your current vacuum keeps marking your floors, or if you are replacing it anyway, use this checklist to choose a model that is gentle on wood.
- Brush roll on/off switch or hard-floor mode: the most important feature for hardwood.
- Soft roller head: a fabric or microfiber roller made for hard floors.
- Soft rubber or silicone wheels: gentle on the finish and less likely to hold grit.
- Soft bristle strips or felt edges: protect the floor around the nozzle opening.
- Strong suction with a sealed system: lets you clean without relying on aggressive agitation.
- Light weight and easy handling: reduces dragging and rough contact.
- Easy-to-clean head: look for a design where you can remove hair and debris without tools.
- Spare parts availability: replaceable wheels, brush rolls and filters keep the machine safe for years.
- Headlights on the floor head (optional): LED lights help you spot fine dust and grit before it spreads.
- Good filtration: a well-sealed machine with a quality filter holds fine dust inside the vacuum instead of blowing it back out.
Common Mistakes That Lead to Scratched Floors
- Leaving the brush roll on when moving from carpet to hardwood.
- Ignoring a stone or piece of grit that is stuck in a wheel.
- Vacuuming gritty floors without sweeping first.
- Continuing to use a worn brush roll or cracked head.
- Dragging a heavy canister body across the floor without checking its wheels.
- Letting a robot vacuum run with a clogged brush or jammed wheels.
- Using abrasive cleaners to remove marks, which makes the dull area bigger.
Frequently Asked Questions
Can a vacuum cleaner scratch hardwood floors?
Yes, it can, but usually because of a stiff brush roll, hard wheels, trapped grit or worn parts, not because of suction. Using a soft roller head or turning the brush roll off prevents most problems.
Should I turn off the brush roll on hardwood floors?
In most cases, yes. Hard floors rarely need agitation, and a spinning brush roll can flick grit and dull the finish. If your vacuum has a hard-floor mode, use it.
Are robot vacuums safe for hardwood floors?
Generally yes, as long as the wheels are soft and clean, the brushes are suitable for hard floors, and the underside is free of grit. Check and clean the robot regularly.
Why do my floors have scratches only after I vacuum?
This points to a problem with the vacuum or to grit on the floor. Check the wheels, the underside, and the brush roll, and sweep the floor before vacuuming.
Can I fix scratches from a vacuum myself?
Light scratches and scuffs can often be improved with a microfiber cloth, hardwood cleaner or a touch-up product. Deeper scratches may need filler, and large areas are best handled by a professional with a screen and recoat.
Which is better for hardwood: a stick vacuum, an upright, or a canister?
Any type can work well if it has a hard-floor setting or soft head, soft wheels and a clean underside. Many people like canisters for their soft floor tools, and sticks for their light weight, but the features matter more than the type.
How often should I clean my vacuum if I have hardwood floors?
Wipe the wheels and check the underside at least once a month. Clean the brush roll and filters according to the manual, and check them more often if you have pets or children.
Final Thoughts
If your vacuum cleaner scratches hardwood floors, the cause is almost always something small and fixable. Turn off or soften the brush roll, keep the wheels and underside clean, remove loose grit first, replace worn parts and handle the machine gently. These simple habits protect your floors far better than any expensive product.
For marks already on the floor, match the repair to the depth of the scratch and start with the gentlest method. And if it is time for a new machine, use the checklist above to pick a vacuum that cleans well without leaving a trace on your beautiful hardwood.