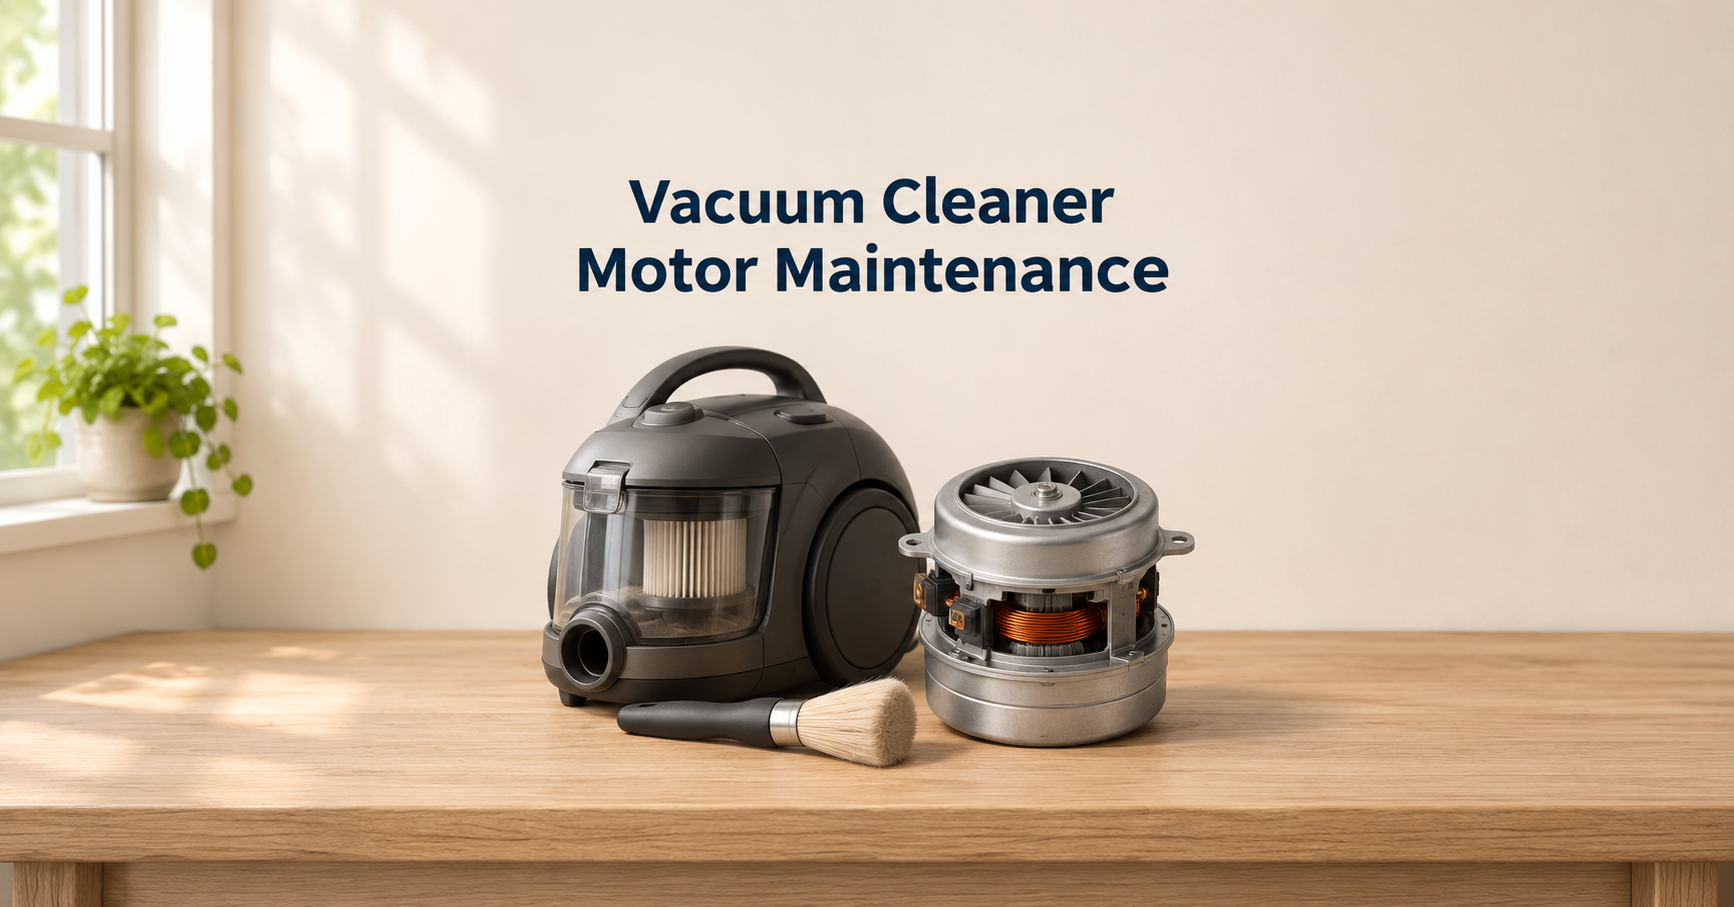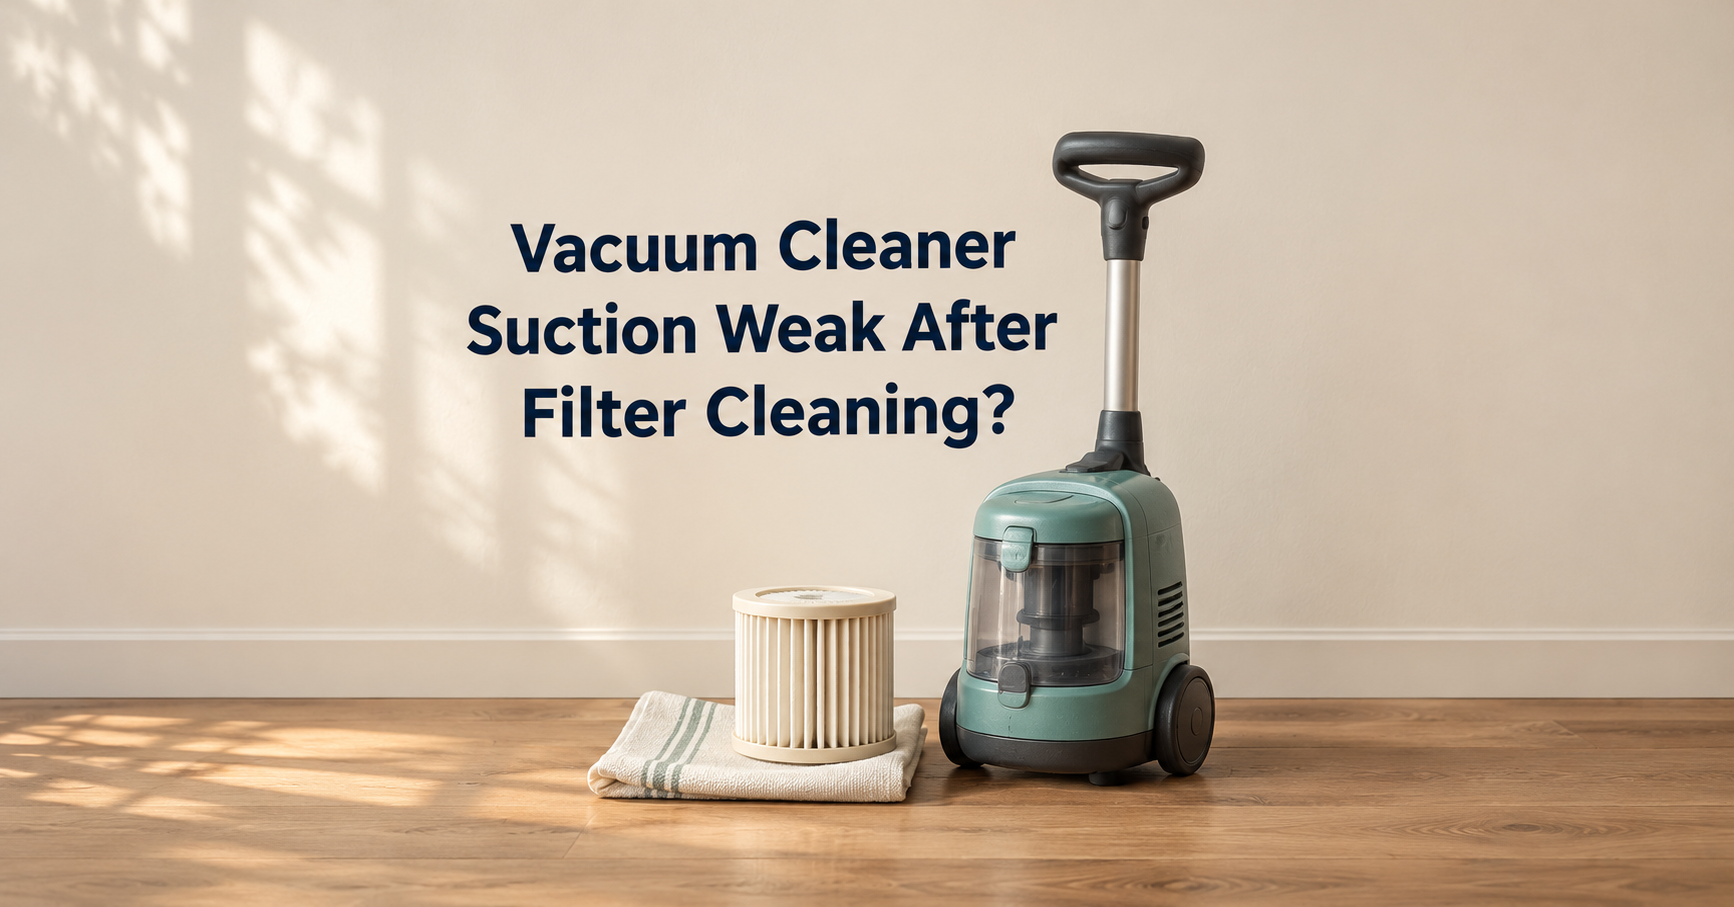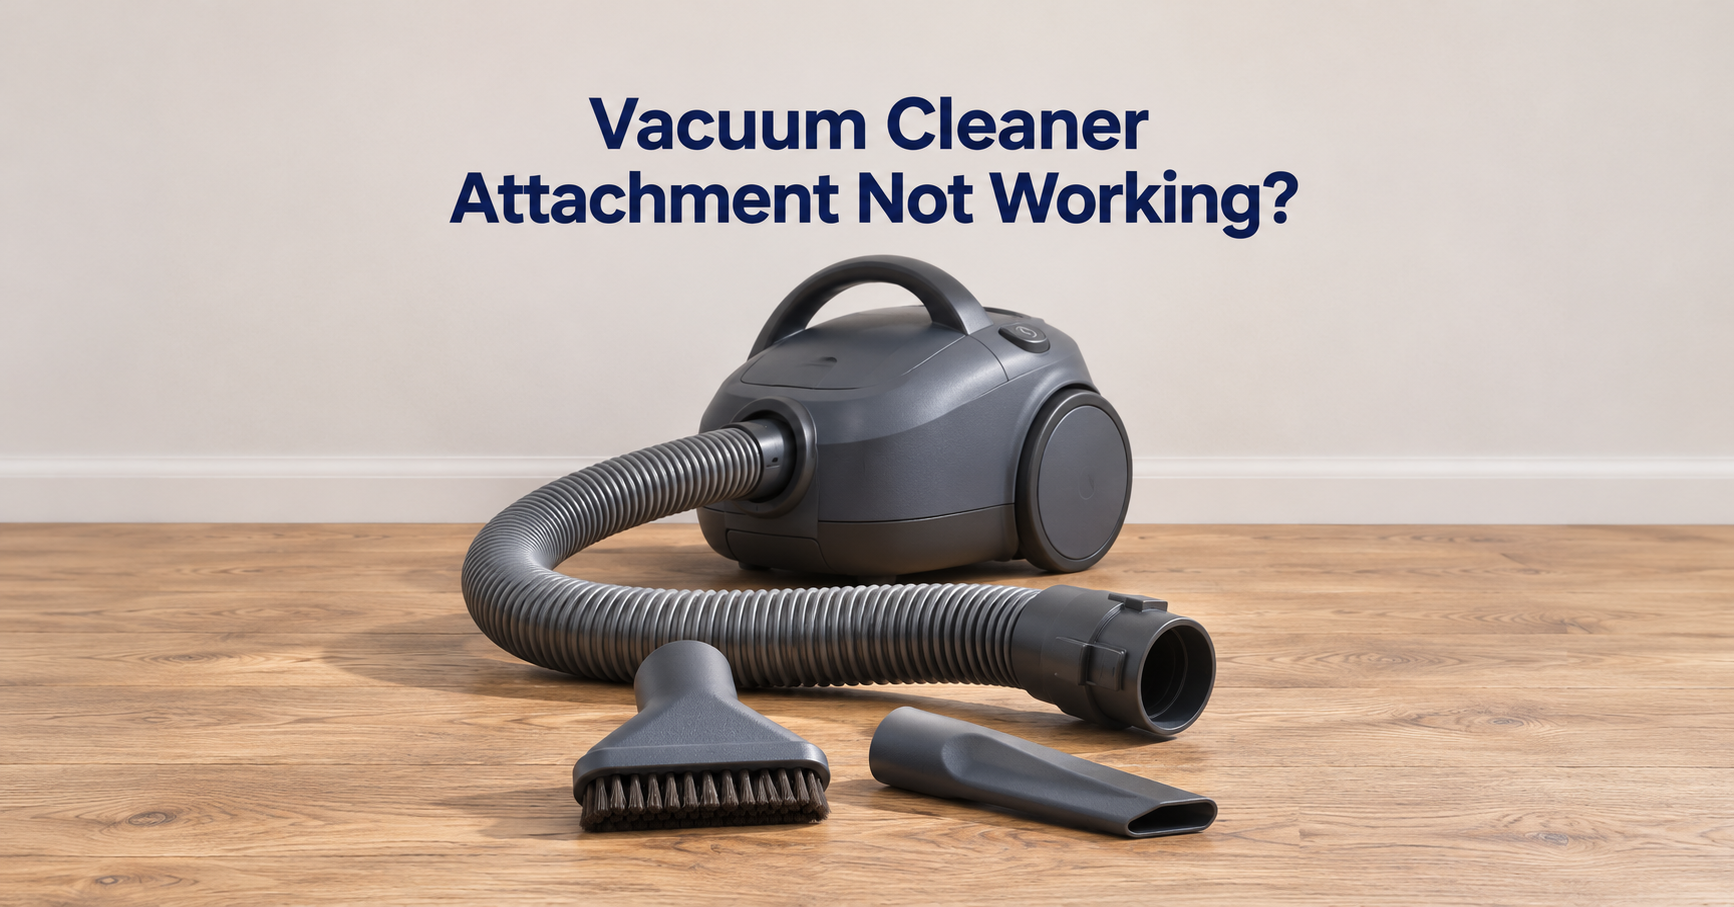
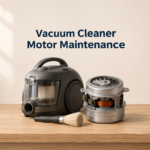
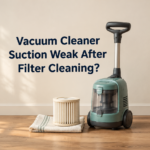




If your vacuum has started to smell musty, leave dust behind or lose suction, the canister is usually the first place to look. Learning how to clean a vacuum canister takes about 20 minutes of work and a few minutes of drying time, yet it can bring a tired machine back to near-new performance.
In this guide you will learn exactly how to empty, wash and dry the canister, how to handle the filters and hose, how often to do each job and which mistakes to avoid. The advice works for bagless canister vacuums and, with small changes, for bagged models too.
Why Cleaning Your Vacuum Canister Matters
A vacuum cleaner works by pulling air through a path of hose, canister, filter and motor. Anything that blocks or dirties that path weakens suction. A clean canister gives you several real benefits:
- Stronger suction. Packed dust and clogged filters restrict airflow, so the machine picks up less dirt.
- Fewer odors. Pet hair, food crumbs and damp dust trapped in the bin start to smell, and that smell is blown back into your room.
- Better air quality. A dirty filter lets fine dust escape through the exhaust, which matters for people with allergies.
- A longer motor life. When airflow is blocked, the motor works harder and runs hotter, which shortens its life.
- Lower costs. Regular care delays the need for repairs and replacement parts.
Signs Your Vacuum Canister Needs Cleaning
Do not wait for a total breakdown. Watch for these warning signs:
- Suction feels weaker than it used to be.
- A musty, dusty or burning smell comes from the exhaust.
- Dust clouds appear when you empty the bin, or dust blows out of the vent.
- The canister is filled above the max line.
- The machine overheats or shuts off by itself (many models have a thermal cut-out).
- Hair is wrapped around the inlet or the bin walls look coated with fine grey film.
What You Need Before You Start
You do not need special products. Most of what you need is already in your kitchen.
- A trash bag (empty the bin into it to control dust)
- Mild dish soap and warm water
- A soft brush or an old toothbrush
- A microfiber cloth and a damp cloth
- Scissors to cut tangled hair
- A long, flexible object such as a broom handle or a straightened coat hanger with a soft tip, for hose clogs
- Optional: white vinegar and baking soda for odors
How to Clean a Vacuum Canister: Step-by-Step
Here is the full process at a glance, followed by details for each step.
Step 1: Unplug the Vacuum
Always disconnect the power cord from the wall socket before you touch any part. For a cordless or battery model, remove the battery. This protects you from electric shock and from the motor starting by accident.
Step 2: Empty the Dust Bin
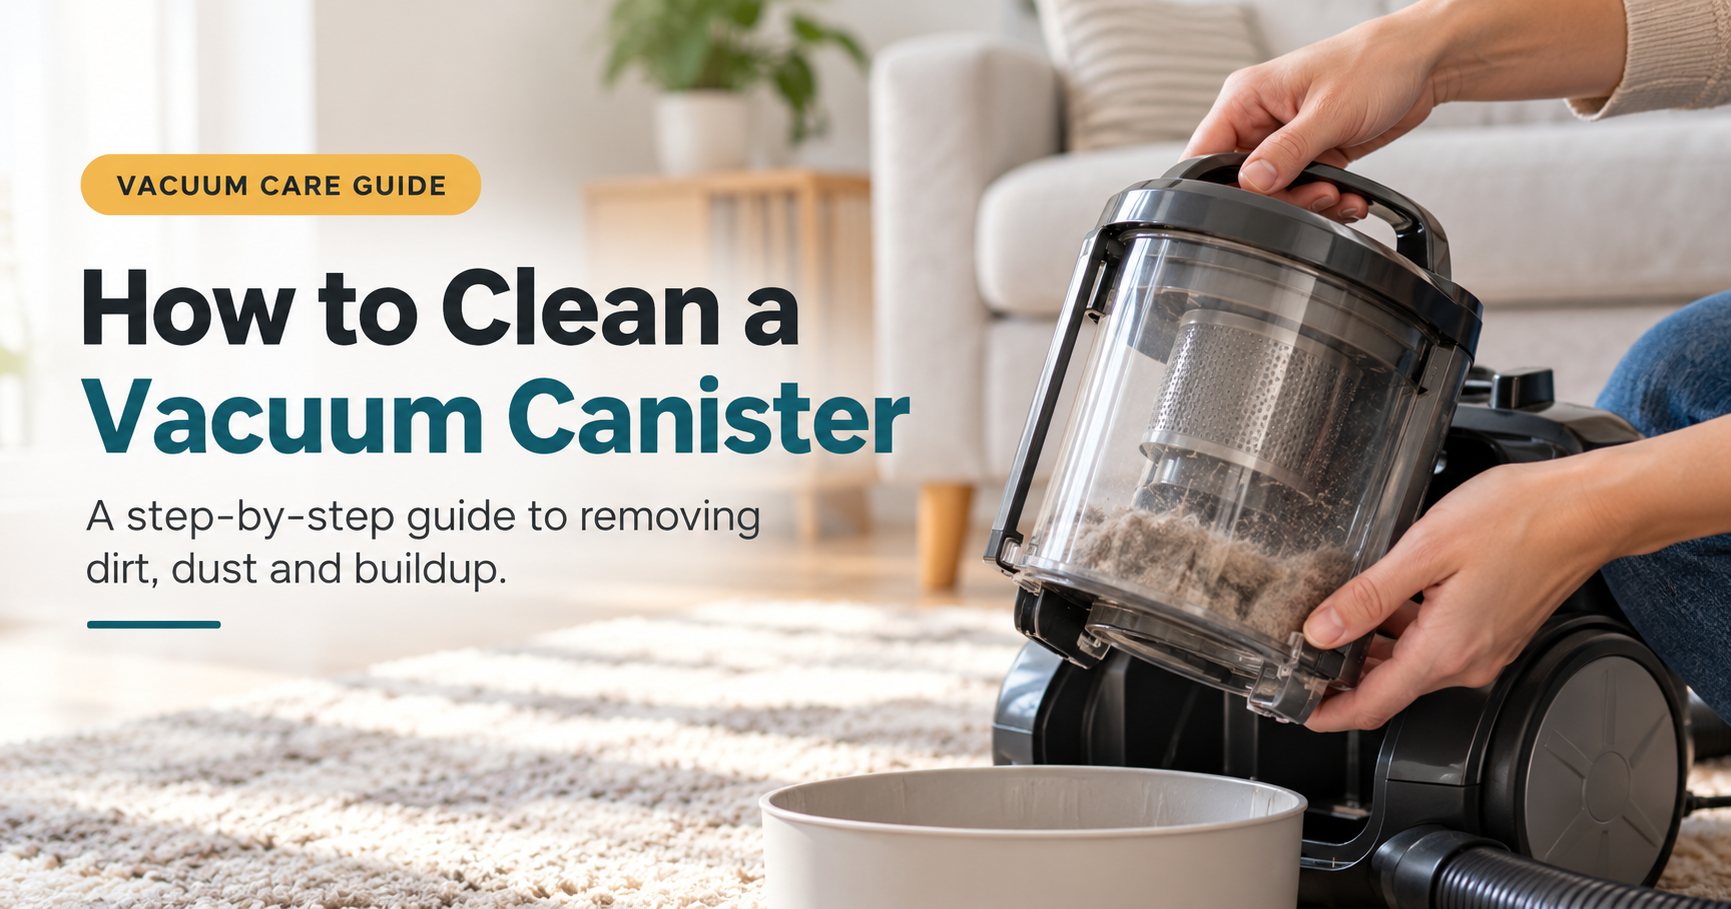
Carry the canister outside or hold it over a large trash bag. Open the release latch and let the dust fall into the bag. Tap the bin gently to loosen packed dirt. Emptying the bin when it reaches the max line (not when it is overflowing) keeps airflow strong between deeper cleanings.
If your machine uses bags, remove the full bag, seal it and replace it. Do not try to reuse a disposable bag.
Step 3: Remove the Filters
Most canister vacuums have two filters: a pre-motor filter, which is a foam or felt pad that protects the motor, and a post-motor or HEPA filter that cleans the air before it leaves the machine. Remove both and note how they were fitted so reassembly is easy. Check the label on each to see whether it is washable.
Step 4: Wash the Dust Bin
Detach any removable parts of the bin, such as the cyclone cone or the mesh cage. Fill a sink with warm water and a few drops of mild dish soap. Scrub the inside with a soft brush, paying attention to corners and the seal. Rinse thoroughly under running water and shake off excess water.
Step 5: Clean the Filters
How you clean each filter depends on its type, so read the label before you start.
| Filter type | How to clean | Replace when |
|---|---|---|
| Washable foam or felt pre-filter | Rinse under cold running water until the water runs clear. Squeeze gently. Do not use soap. Air dry for 24 hours or more. | It is torn, stiff, or still smells after washing. |
| Washable HEPA filter | Rinse only if the label says so. Tap out loose dust first. Air dry fully. | Every 6 to 12 months, or sooner with heavy use. |
| Non-washable HEPA or paper filter | Tap gently over a trash bag and use a soft brush. Do not wet it. | Every 3 to 6 months, or when suction drops. |
| Exhaust (post-motor) filter | Tap clean, or rinse if labelled washable. | Every 6 to 12 months. |
The most important rule is to never put a wet or damp filter back into the vacuum. Moisture causes mold, bad smells and motor damage.
Step 6: Clear the Hose, Wand and Floor Head
A blocked hose is a very common cause of weak suction. Detach the hose and look through it toward a light. If you cannot see light at the other end, there is a clog. Push a broom handle or a soft long object through it gently to loosen the blockage, then tap the hose against the floor to release it.
For the floor head and brush roll, cut away tangled hair with scissors, pull it off and wipe the brush bar. Check that the wheels turn freely and that the air inlet is clear. You can rinse plastic wands with water, but make sure they are fully dry before you reconnect them.
Step 7: Wipe the Canister Body
Dampen a microfiber cloth with soapy water, wring it out well and wipe the outside of the canister, the cord, the handle and the wheels. Use a dry brush or cloth around the vents and the area where the bin sits. Do not spray liquid directly onto the vacuum or pour water into the motor housing.
Step 8: Dry Everything and Reassemble
Leave every washed part to air dry in a well-ventilated place away from direct heat. The bin may dry in a few hours, while foam filters usually need at least 24 hours. Once all parts are bone dry, put the filters back in the right order, close the bin until it clicks and reattach the hose and tools. Run the vacuum for a minute to test the suction.
How to Remove Bad Odors From a Vacuum Canister
If the canister still smells after a wash, try one of these safe fixes:
- Baking soda soak: Add a tablespoon of baking soda to the warm wash water and let the bin soak for 15 minutes.
- Vinegar rinse: Mix equal parts white vinegar and water, wipe the inside of the bin and rinse well. Skip this on parts with delicate rubber seals if your manual advises against it.
- Sun dry: Let clean, washable parts dry in a shaded, airy spot. Fresh air helps lift smells.
- Replace the filter: A filter that has soaked up pet or smoke odors will keep smelling, even when it looks clean.
Avoid putting essential oils or strong perfumes inside the bin. They can leave a residue on the filters and trigger allergies.
How Often Should You Clean a Vacuum Canister?
The right schedule depends on how much you vacuum, whether you have pets and whether people in your home have allergies. This simple routine works for most homes:
If you have shedding pets, or you vacuum fine dust such as drywall or ash, shorten each interval by about half.
Bagless vs. Bagged Canister Vacuums: Cleaning Differences
| Feature | Bagless canister | Bagged canister |
|---|---|---|
| Emptying | Empty the bin into a trash bag after use. | Replace the bag when it is about two-thirds full. |
| Washing | The bin can usually be washed with water and soap. | There is no bin to wash. Wipe the bag compartment with a dry cloth. |
| Filters | Need regular cleaning, because dust touches them directly. | Last longer, since the bag catches most dust. |
| Running cost | Low, as you buy no bags. | Ongoing cost of replacement bags. |
| Dust exposure | Higher risk of a dust cloud when you empty it. | Lower risk, as the bag is sealed. |
Common Mistakes to Avoid
- Using a damp filter. This is the number one cause of musty smells and motor trouble.
- Washing non-washable parts. Always read the label first.
- Using a hair dryer or heater on filters. Heat can shrink or damage the filter material.
- Overfilling the bin. Empty it at the max line to maintain suction.
- Vacuuming wet messes or fine powders. Unless the machine is a wet and dry model, liquids and powders like flour can clog the motor.
- Ignoring the hose. A clean bin cannot make up for a blocked hose.
- Skipping filter replacement. Even a well-washed filter wears out over time.
Troubleshooting: Still No Suction After Cleaning?
If the canister is clean but the vacuum still performs poorly, check the following:
| Problem | Likely cause | What to do |
|---|---|---|
| Weak suction | Hidden clog in the hose, wand or inlet | Check each part separately by hand-testing the suction at the opening. |
| Dust blowing out | Missing, worn or badly seated filter | Re-seat the filter or replace it. |
| Strange smell when running | Wet filter or burnt dust on the motor | Dry all parts. If the smell remains, stop use and have the vacuum serviced. |
| Shuts off by itself | Overheating from blocked airflow | Unplug, clear all blockages, let it cool for 30 to 60 minutes. |
| Whistling noise | Air leak or partial blockage | Check that the bin, hose and seals are fitted tightly. |
Useful Accessories for Easier Vacuum Maintenance
If you want to make upkeep faster, a few inexpensive items can help. Look for these when you shop:
- Replacement filter sets that match your exact model number, so you always have a spare while the other one dries.
- A small cleaning brush kit with a soft bristle brush for vents, filters and the brush roll.
- Hair-cutting tools designed for brush rolls, which make removing tangles much quicker.
- A flexible hose cleaning rod for clearing deep clogs.
- Spare bags (for bagged models), so you never delay a change.
Always confirm compatibility with your vacuum model before you buy any part or accessory.
Frequently Asked Questions
Can I put a vacuum canister in the dishwasher?
Only if the manufacturer says it is dishwasher safe. Heat and strong detergents can warp plastic parts, so hand washing is the safer choice.
How long does a vacuum filter take to dry?
Plan for at least 24 hours of air drying. Thick foam filters may need up to 48 hours in humid weather. Keeping a spare filter lets you keep vacuuming while the first one dries.
Can I use bleach to disinfect the canister?
It is better to avoid it. Bleach can damage plastic and rubber seals and leaves fumes. Warm soapy water, or a diluted vinegar solution on suitable parts, is enough for normal hygiene.
Why does my vacuum smell even after I emptied it?
The smell usually comes from dust trapped in the filter, the hose or the seals. Wash or replace the filter, clean the bin and hose, and make sure that everything is completely dry.
Is it safe to wash a HEPA filter?
Only some HEPA filters are washable. Washing a non-washable one destroys the fine fibers that trap tiny particles. Follow the label on the filter or the instructions in your manual.
How do I know when to replace the filter instead of cleaning it?
Replace it if it is torn, discolored in a way that does not wash out, stiff, or still smells after cleaning. If suction does not improve after a full clean, a new filter is the next thing to try.
Final Thoughts
Knowing how to clean a vacuum canister is one of the easiest ways to protect your machine and your home air quality. Empty the bin regularly, wash the washable parts, keep the filters dry and clear the hose when airflow drops. With the simple schedule above, your vacuum will keep its strong suction and stay fresh for years.
Make cleaning a habit, and your vacuum will take care of your floors in return.